Can You Paint the Inside of a Sink? A Step-by-Step Guide
Can You Paint the Inside of a Sink? A Step-by-Step Guide
| No. | Commodity Name |
| 1 | Industrial paint |
The question of whether you can paint the inside of a sink is one that might arise during a home renovation or when looking to refresh an outdated bathroom or kitchen without the expense of replacing fixtures. The answer is yes, you can paint the inside of a sink, but the process requires careful preparation and the right materials to ensure a durable finish.
Firstly, it is important to understand that not all sinks are suitable for painting. Sinks made of porcelain, cast iron, and ceramic are typically good candidates, while stainless steel or composite sinks may not hold paint as well. Once you have determined that your sink is a viable candidate for painting, the next step is to gather the necessary supplies. You will need a high-quality epoxy or acrylic paint designed for sinks, a cleaning agent, sandpaper, a paintbrush or roller, and a clear topcoat for protection.
Before applying any paint, the sink must be thoroughly cleaned to remove any soap scum, grime, or rust. This can be done using a bathroom cleaner or a mixture of baking soda and water. After cleaning, rinse the sink well and allow it to dry completely. The next phase is to sand the surface of the sink. This step is crucial as it creates a rough texture for the paint to adhere to. Use a fine-grit sandpaper and sand the entire surface evenly. Once sanded, clean the sink again to remove any dust from the sanding process.
With the sink prepared, it is time to apply the paint. Begin by carefully applying a thin coat of the epoxy or acrylic paint, following the manufacturer’s instructions. It is essential to work in a well-ventilated area and to use even strokes to avoid drips or uneven layers. Allow the first coat to dry completely, which may take several hours or as recommended by the paint manufacturer.
After the first coat has dried, assess the coverage and apply a second coat if necessary. Two coats are often recommended to achieve a smooth, even finish. Once the final coat of paint has dried, it is time to apply a clear topcoat. This topcoat will seal the paint and provide a layer of protection against scratches, chips, and the wear and tear that comes with regular use. Apply the topcoat carefully and evenly, and then allow it to cure as per the manufacturer’s instructions.
It is important to note that while painting the inside of a sink can significantly improve its appearance, the finish may not be as long-lasting as a brand-new sink. The painted surface will require gentle cleaning and maintenance to keep it looking its best. Avoid using abrasive cleaners or scrubbers, as these can damage the paint and topcoat.
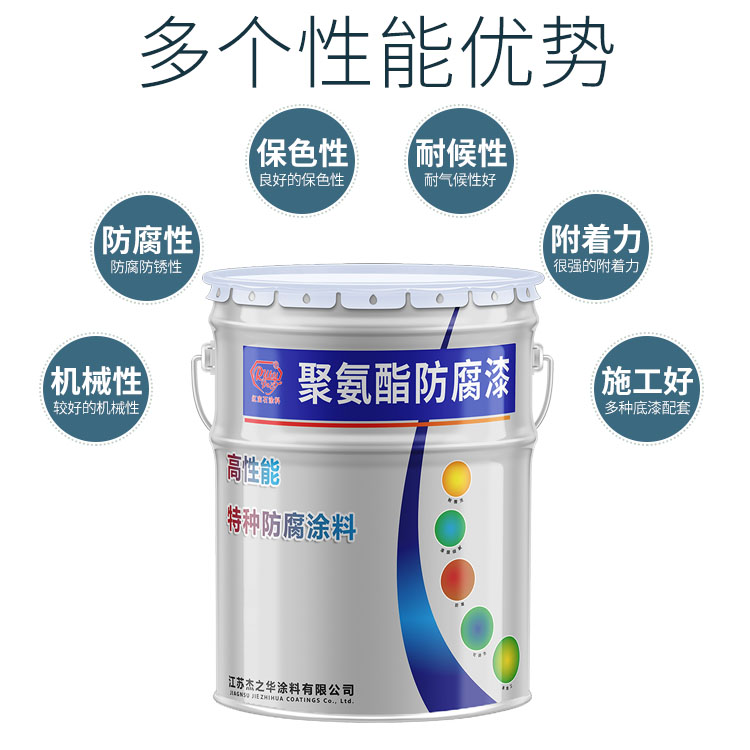
| No. | Products |
| 1 | Industrial paint |
In conclusion, painting the inside of a sink is a viable option for those looking to update their fixtures without the cost of replacement. By following the steps outlined above and using the appropriate materials, you can achieve a fresh, new look for your sink. However, it is essential to approach this project with patience and attention to detail to ensure a finish that is both attractive and durable. With the right preparation and care, your painted sink can be a beautiful and functional part of your home for years to come.